 |
Pages: « ... 18, 19, 20, 21, 22, 23, 24, 25, 26, 27, 28, 29, 30, 31, 32, 33, 34, 35, 36, 37, 38 ... » : All |
   |
|
 Author Author |
 Right - join Part A to Part B etc, etc, etc (currently 14,873 views) Right - join Part A to Part B etc, etc, etc (currently 14,873 views) |
| Graham Bichard |
| Posted on: January 14th, 2017, 21:20:23 |
  |
|
Maximum Member2


Posts: 751
|
|
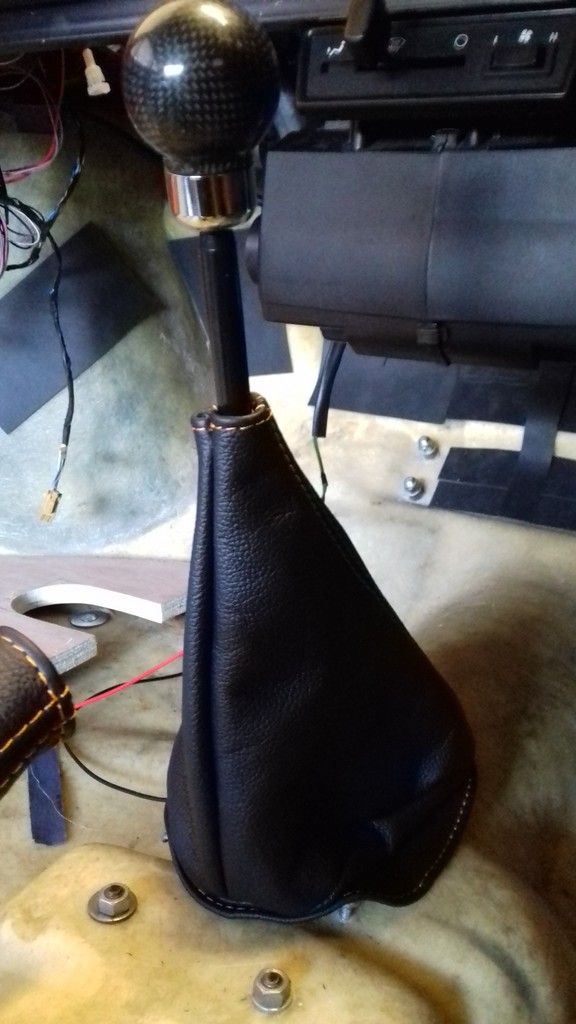
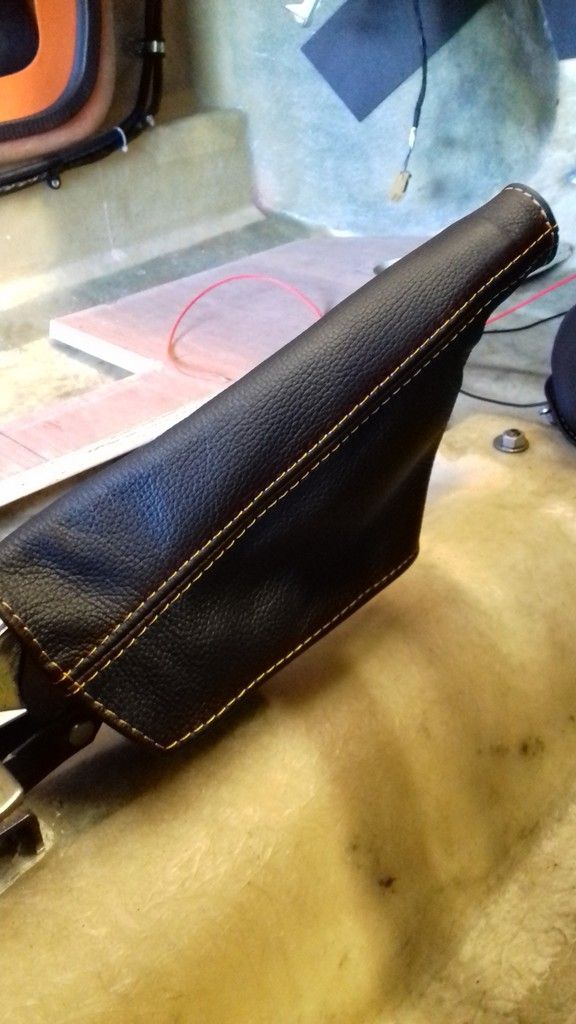
I also received a very nice gear lever and hand brake gaiter - leather with orange stitching:
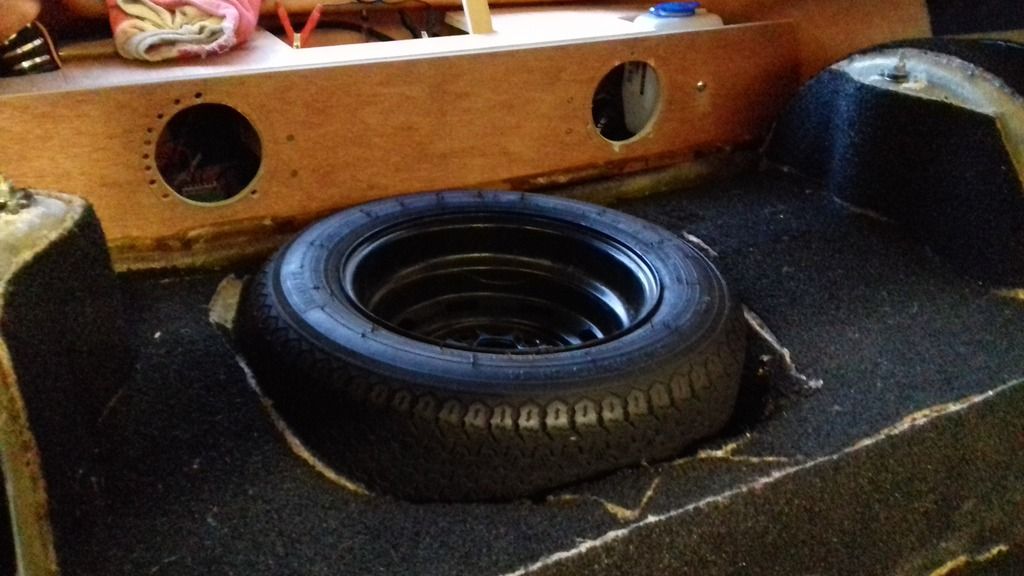
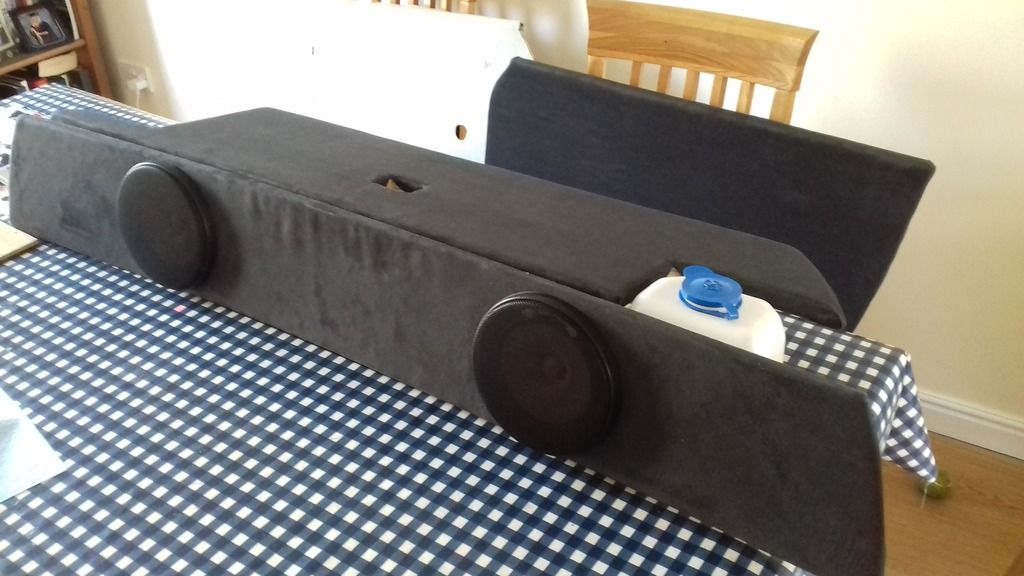
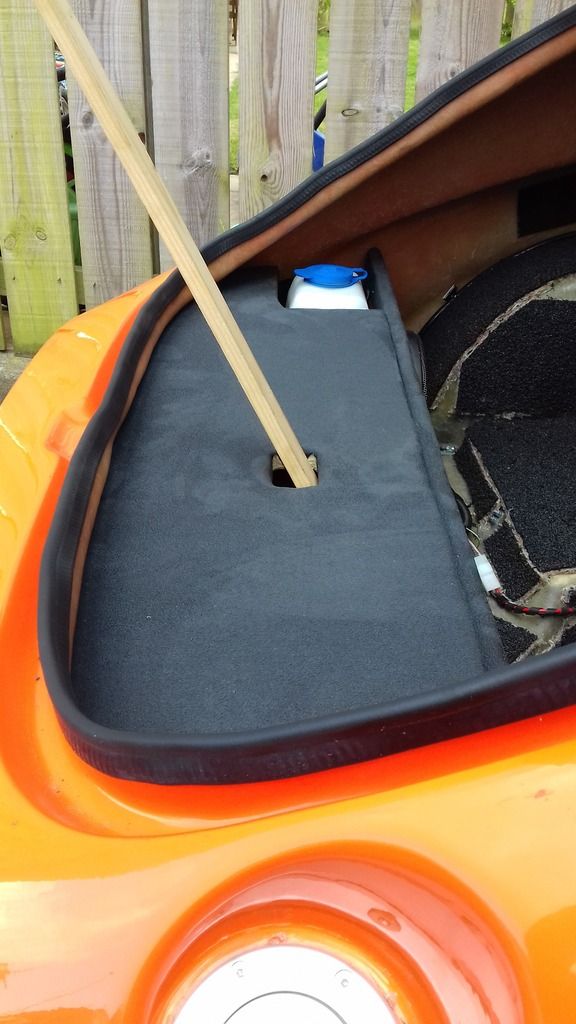
There is a cut out for the washer bottle in the boot board cover, another for the fuel pipe. I can't determine the exact size of the fuel pipe cut out yet - this needs to be fibreglassed in/sealed from the interior, for IVA. I don't want to seal this before having the engine running/fuel system pressurised.
I'm also in the middle of covering the boot board. I bought some 3mm scrim foam and some faux suede to cover it.
The glue should be set by tomorrow - it doesn't look half bad.
I'll try and put up a photo tomorrow. |
|
|
|
 |
Reply: 405 - 599 |
|
 |
| Graham Bichard |
| Posted on: January 14th, 2017, 21:28:40 |
|
|
Maximum Member2
Posts: 751
|
|
I also made a board for the floor base, this to provide a flat floor:
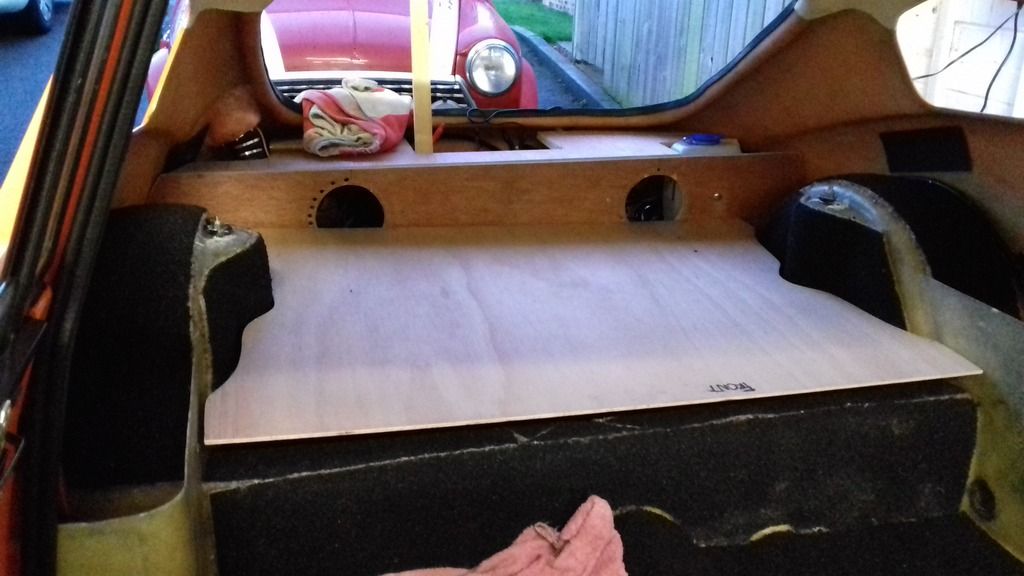
I'll place a couple of pieces of wood under the base to level it up and support the weight of anything placed on it. This should also provide a (small, thin) area to put something out of sight.
I'm looking to cover this in carpet. |
|
|
|
| |
Reply: 406 - 599 |
|
|
| Graham Bichard |
| Posted on: April 15th, 2017, 14:58:05 |
|
|
Maximum Member2
Posts: 751
|
|
Hope everyone's enjoying the long weekend.
The car's been in the garage getting some more electrical work done this past couple of weeks - the fuel pump wouldn't power up, so had that seen to.
Also had the power socket wired in and the wipers fixed (anyone got a Rover YWC 10152 front wiper control unit handy? Quite expensive as it turns out and need to get my hands on one!).
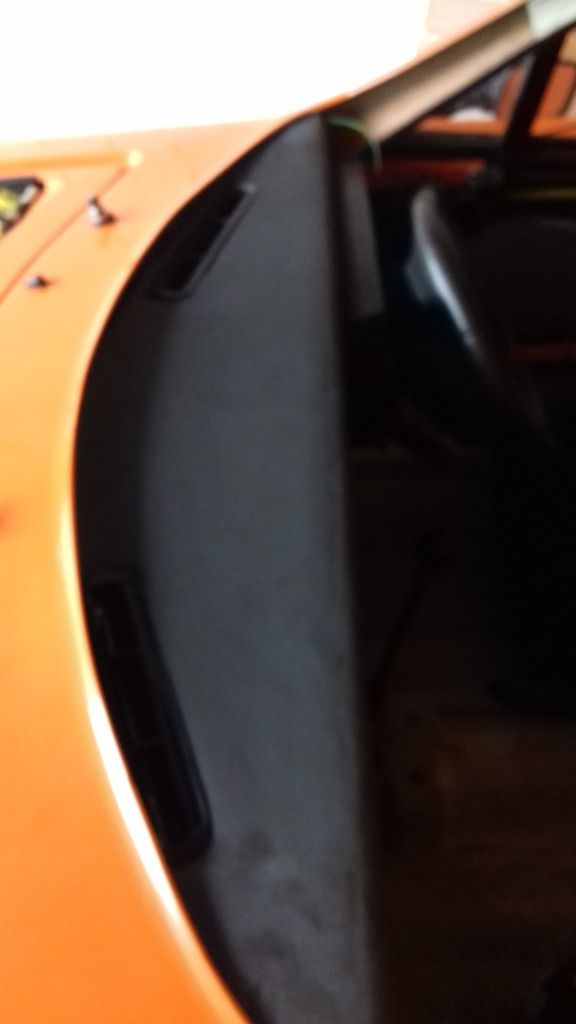
Anyway, kept myself busy working on the boot box covering:
You can see one of the door cards in the background of this shot. Both door cards are now done.
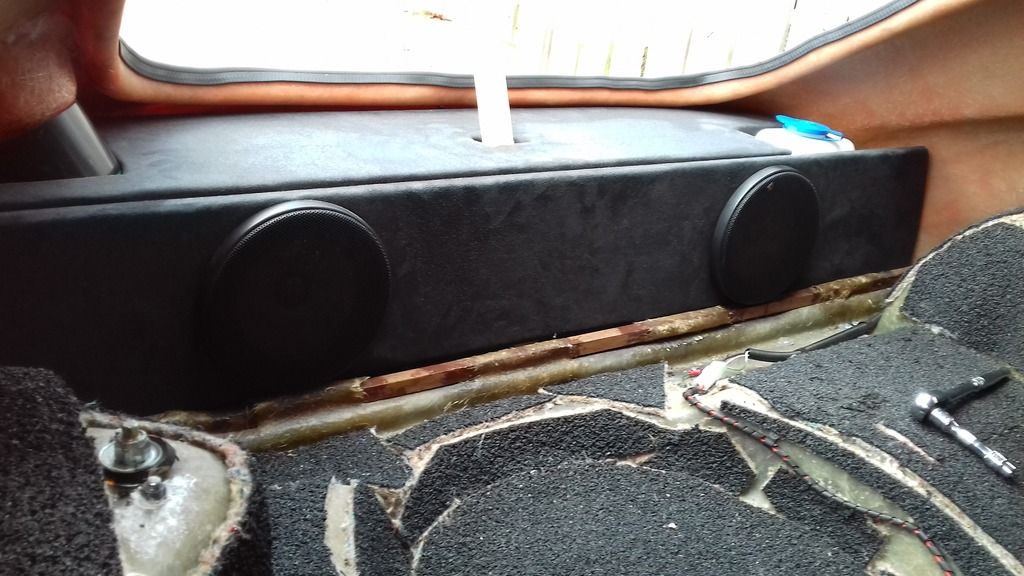
I'm quite happy with how these have turned out. I just hope the spray glue is as good as it says on the tin and doesn't soften up in sunshine.
As previously mentioned, this does look as if it'll make it a bit difficult to load through the hatch, but I've got a diesel estate for practicality  . .
And it does tidy up the rear quite well, while making a space for keeping a warning triangle, first aid kit, yellow jackets etc. |
Last modified April 15th, 2017, 15:00:53 by Graham Bichard |
|
|
|
| |
Reply: 407 - 599 |
|
|
| Graham Bichard |
| Posted on: April 17th, 2017, 11:39:51 |
|
|
Maximum Member2
Posts: 751
|
|
Question for Steve Schmidt:
Steve, I came across this photo of your dash in the forum:
http://smg.photobucket.com/user/Curly/media/Marcos/P1100860_zps50b52da3.jpg.html
Can you tell me how your dash is secured to the bulkhead/dash frame?
I'm looking to use the suede on my dash but the current method of securing this is via self tappers screwed in from above.
This would leave the screws visible - not the end of the world but I'd like to avoid this if possible.
Just wondered how you/others got around this problem.
Thanks, |
Last modified April 17th, 2017, 11:40:33 by Graham Bichard |
|
|
|
| |
Reply: 408 - 599 |
|
|
| Steve_Schmidt |
| Posted on: April 17th, 2017, 21:14:56 |
|
|
Medium Member


Location: Gippsland, Victoria, Australia
Posts: 167
|
|
G'day Graham, I had the same issue as you have in not wanting exposed screws spoiling the look of the dash. The top section of my dash consists of two vinyl-covered fibreglass pieces - the first bit matches the curve at the base of the windscreen and it is self-tappered to a short flange that sticks out from the bulkhead. The screws are right up at the front and angled forwards. You can't see them because the outer panel at the base of the screen covers them. They are very difficult to screw in and I doubt you could do it with the windscreen in place, because the screen rubber would be in the way. The larger section of the dash top is then self-tappered to this first piece from underneath, using very short screws so as not to pierce the padded vinyl lining. The wooden facia is then attached to the upper panel by screwing it on from the back and also supported by 4 rather tricky metal brackets that screw on behind the facia and attach to a metal cross-member running across the front of the cabin level with the bottom of the dashboard. As you can imagine the dash took many, many hours to get right. It would have been a lot easier to form up and mould in a fibreglass one.
You can see additional photos and information on the build here: https://mm7056.wordpress.com/2014/04/26/april-2014/
|
Steve (MM 7056) Downunder
http://www.mm7056.wordpress.com |
|
 Logged Logged |
|
|
| |
Reply: 409 - 599 |
|
|
| Graham Bichard |
| Posted on: April 22nd, 2017, 13:05:44 |
|
|
Maximum Member2
Posts: 751
|
|
Thanks Steve. I'm looking at how to do the dash top this afternoon.
And looking over your write up - I like your idea for a door check strap! |
|
|
|
| |
Reply: 410 - 599 |
|
|
| Graham Bichard |
| Posted on: May 7th, 2017, 12:33:04 |
|
|
Maximum Member2
Posts: 751
|
|
Dash covered with airvents back in place:
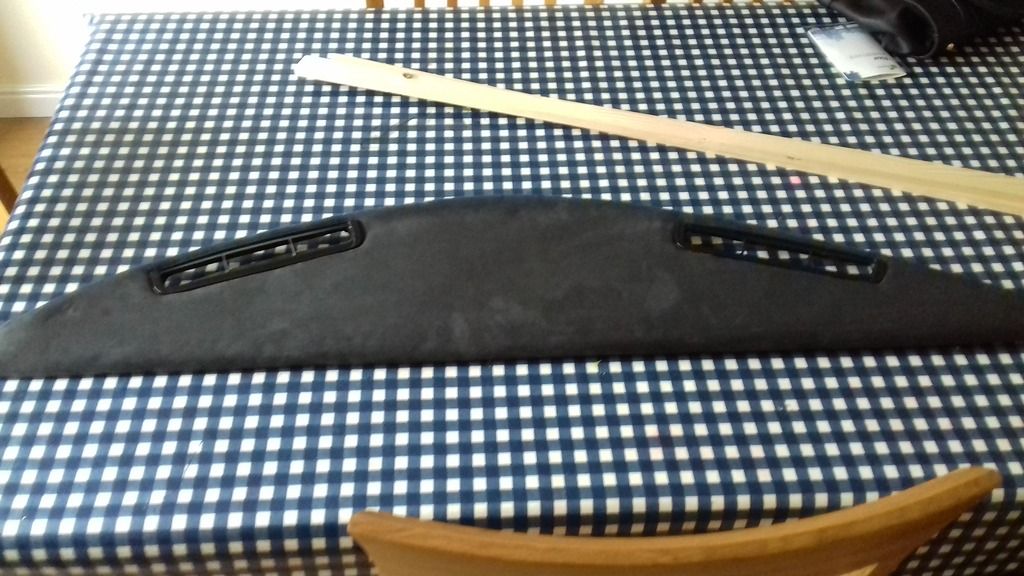
Not quite as curvaceous as Steve's effort, but I'm resonably happy with it:
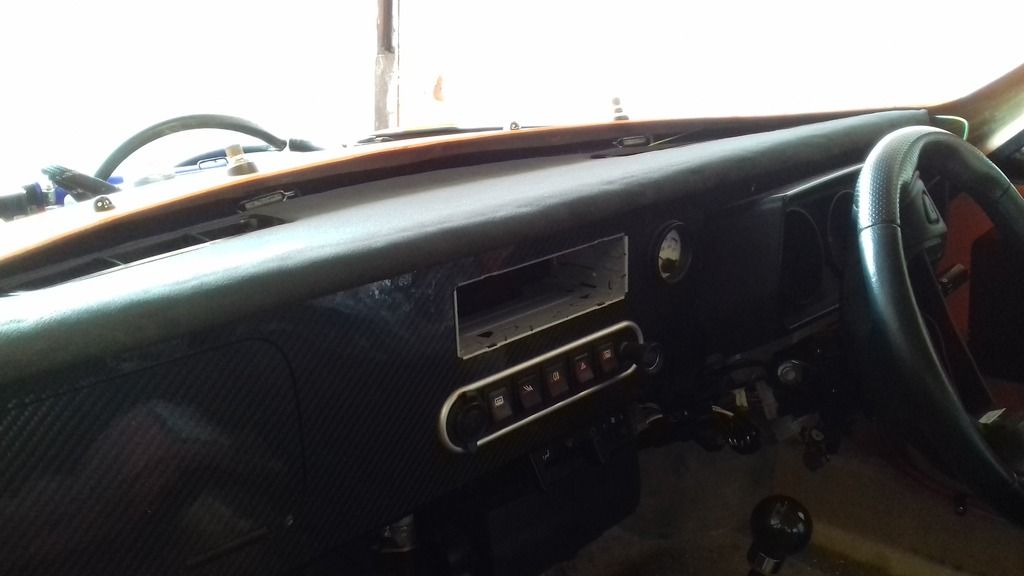
The nuts needs to be put on and tightened which should draw the ends of the dash down a little. The wires poking out each end are for the heated screen.
I've also think I've found out why the engine won't catch - lack of fuel!
The fuels leaving the tank (got my arm covered finding that out).
It's making it's way to the pre-pump filter, but not I think through the pump. This is turning over when the ignition is switched on, but there doesn't seem to be anything getting through the pump (air or fuel).
I'm going to get a suction pump to try and draw the fuel through the pump and then through the fuel supply line (i.e. try and get rid of air in the inlet side) but I'm wondering if the pumps knackered - too much drawing on air?
Oh well - another small step closer. |
Last modified May 7th, 2017, 12:34:26 by Graham Bichard |
|
|
|
| |
Reply: 411 - 599 |
|
|
| Graham Bichard |
| Posted on: May 14th, 2017, 11:02:30 |
|
|
Maximum Member2
Posts: 751
|
|
|
|
|
| |
Reply: 412 - 599 |
|
|
| Neil KilBane |
| Posted on: May 14th, 2017, 13:27:29 |
|
|
Maximum Member2

just a little fine tuning left to do.
Location: Newtown Forbes, Ireland
Posts: 1,420
Reputation: 0 (tot: ) |
|
|
|
|
| |
Reply: 413 - 599 |
|
|
| Graham Bichard |
| Posted on: May 14th, 2017, 20:21:34 |
|
|
Maximum Member2
Posts: 751
|
|
Right, so - after checking fuel was leaving the tank, checking it was making its way through the filter, checking it was making its way through the pump and drawing fuel through the fuel line to the engine compartment there was still nothing.
So, taking the fuel pump was knackered I decided to swap over the +/- leads as a last ditch attempt.
Turning the ignition on - hmm, sounds a little different. So push the car out the garage and do that again.
Immediately there appears a sign of fuel leaching out the end of the fuel rail. Quickly nip that up and wipe it down and try that again.
To cut a long story short, it seems that the fuel rail must have a gasket in it which has been dry for so long it wasn't sealing under 3 Bar pressure. But after a while it appeared to have stopped.
So - in for a penny, in for a pound (and with fire extinguisher at hand) I turned it over.
And what do you know - it IMMEDIATELY caught and ran. So quickly in fact that I forgot to check the oil pressure (it was fine). I then remembered to raise the revs to bed the cam in (~1500rpm).
I ran it for about 5 mins before stopping and checking for fuel and coolant leaks before starting it up again and running it for another 10 mins or so.
Unfortunately it started overheating, blowing coolant out of the header tank, so I immediately turned it off.
I had been checking the top hose and only a minute or so before boiling it was warm but not hot. Checking ti shortly afterwards it was pretty damn hot!
I realised I didn't have the heater 'on' (control pulled out) which I think you are meant to do to fully open the system. But what could be causing it to overheat? Does anyone else have cooling problems with the Fiat Cinq radiator? The fan was working until I cut the engine.
The engine also sounded as if the tappets need adjusting. I can't remember what I set these to exactly, but do remember it was wider than normal due to having 1:5 roller rockers fitted.
I'll re torque the head down too before running it up again.
But what a step forward  |
|
|
|
| |
Reply: 414 - 599 |
|
|
| Olly Lewis |
| Posted on: May 15th, 2017, 11:44:18 |
|
|
Medium Member
Posts: 194
|
|
I had a little temperature problem to start with and my cooling fan was wired around the wrong way. If it's a suck through fan then it must be wired in a pull configuration and if it's a blow through fan then it must be wired in a push configuration AND fitted in the correct fashoin. The blades are engineered to only work in one direction!
If your fan is coming on at a sensible temperature but it is still getting hot then I would look at that. It's all down to air flow.
|
|
|
|
| |
Reply: 415 - 599 |
|
|
| Graham Bichard |
| Posted on: May 16th, 2017, 19:08:56 |
|
|
Maximum Member2
Posts: 751
|
|
Olly,
I did think of this (fan going backwards), but only after the event!
It's a little bit annoying that the electrician didn't pick up on the fuel pump but hey-ho 
I'll do some checking this weekend and start it up again (with the heater on) and see if I can sort it.
Still quite pleased that it started/I put the engine together properly |
|
|
|
| |
Reply: 416 - 599 |
|
|
| Graham Bichard |
| Posted on: June 3rd, 2017, 18:05:49 |
|
|
Maximum Member2
Posts: 751
|
|
So, managed to get a couple of hours this afternoon (and the odd hour or two in the evenings this past couple of weeks) and have managed to sort (I think) the slight leak in the cooling system, run the car up for a couple of 10 minute spells (so the cam should be bedded in nicely now) but still have an issue with the fan.
The fan was blowing the wrong way, and still is! I ran the car up got it up to temp (temp gauge works ) and when the fan kicked in determined it was blowing done through the radiator instead of sucking the air up through it.
I took the fan off and determined the fan can be removed and 'turned over'. So I did that and fired the car up again. And guess what - exactly the same thing again! Hmm...
So what I think needs to happen is to have the fan turning around in the opposite direction.
Will this be as simple as cutting the (two) wires and connecting them back up the opposite way? Seems too simple, which is why I ask.
While waiting for the car to cool I cracked on with offering up the headlight covers. I'm looking at two fitting brackets to hold this in place -there's space for a third if I think it needs it. I need to put some gel coat on the bare holes to protect the fibreglass, but another small step forward:

Just got to add, when the last 10 minutes of running the engine at ~1500rpm was complete I took the opportunity to blip the throttle a few times. It might be in my head, but it does seem to pick up faster than the mini - that's not surprising really. This engine is bigger than the mini's (by 12cc) but importantly, has a lighter steel flywheel.
Did make me smile though |
|
|
|
| |
Reply: 417 - 599 |
|
|
| Simon Robinson |
| Posted on: June 3rd, 2017, 18:56:08 |
|
|
Big Member


Location: Northampton
Posts: 338
|
|
| Assuming the fan is the same design as mine, the air flow direction can be reversed by changing the wiring over. Give it a go and see what happens... |
D&H Mk IV 8313, KGV 215V (aka George) - 75,000 miles and counting since restoration in 2011. |
|
|
|
| |
Reply: 418 - 599 |
|
|
| Bent Larsen |
| Posted on: June 4th, 2017, 07:37:54 |
|
|
Medium Member

Location: Denmark
Posts: 126
|
|
| If the blades are curved you will get less air if you reverse it |
|
|
|
| |
Reply: 419 - 599 |
|
|
Pages: « ... 18, 19, 20, 21, 22, 23, 24, 25, 26, 27, 28, 29, 30, 31, 32, 33, 34, 35, 36, 37, 38 ... » : All |
|
|
| |
| Forum Rules |
You may not post new threads
You may not post replies
You may not post polls
You may not post attachments
|
HTML is on
Blah Code is on
Smilies are on
|
|
|
|


 Mini Marcos Forum > General Boards > Mini Marcos > Right - join Part A to Part B etc, etc, etc


